
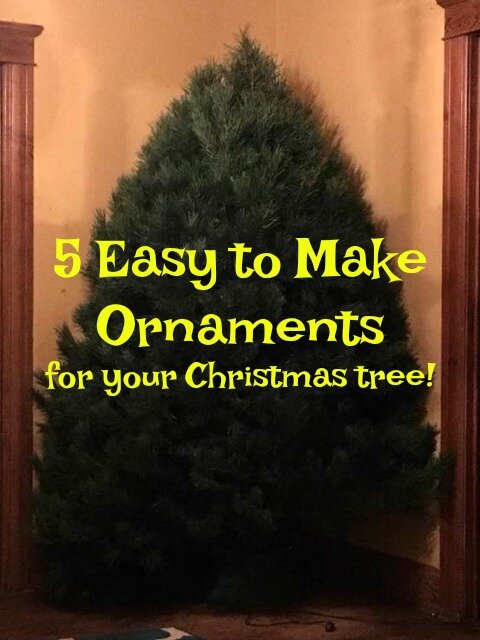
When it comes to our home and Christmas decorations, well, you will never see my humble abode gracing the pages of Better Homes and Gardens. Our Christmas tree is far from Martha Stewart perfect. And ya know what? I am so totally fine with these facts! Why? Because while none of our ornaments may match, they each have personal meaning to us. Be it the totem pole from our honeymoon in Alaska, or the Three Stooges whom my hubby likes, there is a little “something” behind everything on our tree. And to me, memories mean more then perfectly matched balls of color.
Since homesteading has become a way of life for us, we decided that some of our critters needed to grace our tree too! I came up with this super simple ornament idea the oldest country kid could help me make. Now you don’t have to use farm animals of course, this will work with any photos you have! Be creative! Photos of family, friends or even just things you find catch your eye can be used in this project to create one of a kind ornaments or make them as gifts!
We started out with just some plain wooden circles we picked up at a craft store. They come in a variety of sizes, so you can pick what suits you best. I had the oldest country kid give each circle a coat of white acrylic paint on the front and back to give them a more finished look.

Next we cut lengths of festive holiday ribbon we picked up at the dollar store. We attached these to the back in a loop with craft glue. Since we added the ribbon to hand them, there was no need to drill a hole in order to attach a hook. I think the ease of the ribbon and the festive design add a little something to the ornaments.

Once we had all the ornaments prepped, it was time to decide what to put on them. We combed through our photos and came up with some really cute shots, like our pig Oreo. Now here comes the part where you just have to “wing it.” Once you pick your photos, just place them in a word document. You will have to play around a little with size depending on the size of your wood blank circles. I found the easiest way to get what I wanted was to print off the photo and then lay the blank on top of the section I wanted and just draw around the circle. Once you see ow it looks, you can either make the image smaller or bigger depending on your needs.

I let the oldest country kid cut out the circle, so of course they weren’t all perfect, but I think that just adds more charm to each one. And from a distance, you can’t even tell they aren’t “perfect.” I went with sepia tones to give our ornaments a more vintage feel, but you can play around with color or black and white.

To attach the photos to the wooden circles, we whipped up a homemade version of Mod Podge. Simply take white glue and water it down a bit. We coated the circles, than placed the photos down. When they were dry, we used our homemade Mod Podge to go over the tops of the photos to seal them well. Use gentle brush strokes and don’t over saturate your photo. Remember, it is just printed on paper and you don’t want to tear it.

I don’t know what you think, but I love the way they turned out! Now we have even more special memories for our Christmas tree. And I got to spend quality time with the oldest country kid making them! I call that a win win situation!
Cute idea! You could probably sand the edges a bit after the gluing if you wanted to…
No need really. The blanks are very smooth and if you sand, you would take the paint off.
I love them!! My favorite two are Bikini Betty and the Pig. Thanks for sharing! :o)
Now how many people can say they have a bikini Betty on their tree LOL Glad you like them 🙂
These are so cute! Love that you used your farm critters. Pinned 🙂
They are family too! LOL Thanks for the pin 🙂
they are really cute and I imagine the idea would work well with family photos – or pics of your children at different ages etc. Thanks so much for sharing at our #OTM link up 🙂 ~ Leanne
The possibilities are endless as to what you could put on these. We just decided to go with critters LOL They are family too around here.
Wow, love these! Thanks for sharing at My Flagstaff Home!
Jennifer
Awww thanks! They were fun to make 🙂
Those are super cute!
We love em 🙂
I love these. Homemade mean so much more. Thank you for sharing your wonderful post at #OverTheMoon. I look forward to what you will share next week! Do something special. Give yourself a standing ovation today! We hope you’ll come back again next Sunday when we open our doors at 6:00 PM EST. “Like" someone in person today!
Thanks. I wouldn't miss it for the world. Thanks for hosting.
I love this idea! A great way to remember family stories as you put up the tree each year.
It is fun to look back and remember 🙂
What a great idea and so easy to personalize! Thanks for sharing on the Pleasures of the NW's DIY party!
Thanks for stopping by! So glad you like them. 🙂
Beautiful and creative you are genius, thanks for sharing with Hearth and soul blog hop. pinning
Awww thanks! *blush*
This is so cute and unique. My husband and I do a little backyard animal raising. I showed him your ornaments. My daughter would want me to put all her chickens on the tree. Thanks for sharing at Family Joy Blog linkup
Do it! Give her a set as a Christmas gift. She will cherish them.
So great!!! Thanks for being apart of Homestead Blog Hop. Hope to see you this Wednesday!
See you then!
I love love love this idea! This is on my to do list!!! #talkituptuesdays
Go get em! Make those memories!!
Very nice!
Thanks!
Awwwww these are super cute. I love the farm animal ornaments. Happy to find your post & visit from the hop!
So glad you stopped by!
These are so cute!
I would love for you to share this with my Facebook Group for recipes, crafts, tips, and tricks: https://www.facebook.com/groups/pluckyrecipescraftstips/
Thanks for joining Cooking and Crafting with J & J!
Thanks!