Every year the oldest country kid takes projects to the county fair as part of his 4-H club. Ever year he waits till the last minute to try to make a million and one projects. Not this year! This mama will not do the July craft fest from hell ever again! The majority of his projects will be done BEFORE July.
One of the projects he wanted to do this year is glass etching. And while there are professional sandblasting machines out there you can buy and use, he is 10 and mama doesn’t have that kind of money!
A quick trip to the craft store and we were on our way to a quick and easy solution of how to etch glass at home. We started by picking out a stencil he would like. As far as finding good
stencils at a reasonable price, I would suggest visiting Hobby Lobby if you have one around. We also picked up the stencil adhesive while we were there. Remember they are closed on Sundays (cause ya, this mama might have forgot) and you can always look online and find coupons for Hobby Lobby.
When we went to purchase the etching cream, mama forgot Hobby Lobby was closed on Sundays so we tried Michael’s Crafts. Yikes on the price! So we headed over to Joann Fabric who carried the etching cream at a MUCH better price and I was rocking a 50% off coupon on top of that. If you craft, you should really sign up for Joann’s emails. I get tons of great coupons all the time.
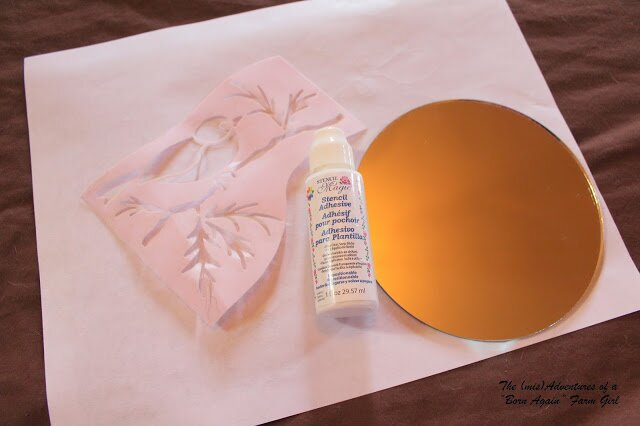
To start a project, you need something made of glass. For mine (yes, I made one too) I used a 99 cent mirror. How could I not make one too? It is so easy and fun! In fact I am so addicted to etching, we are going to have to make a run to Dollar Tree to pick up a bunch of glass vases.
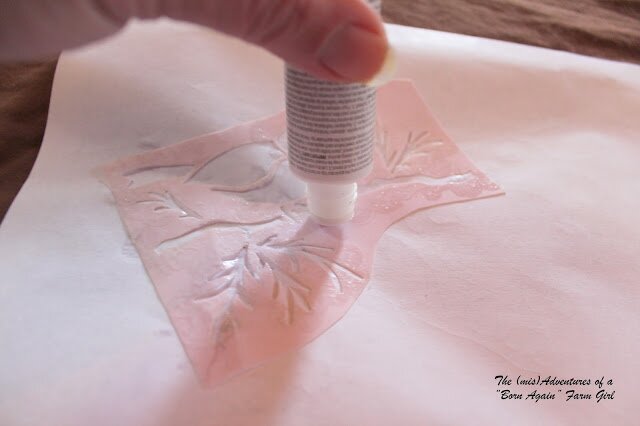
I found the easiest way to get the stencil adhesive on the stencil without making a big mess was to place a sheet of printer paper under it. Then I simply dabbed the stencil all over. When you push down (don’t squeeze) on the stencil adhesive is seeps out. I went around the stencil dabbing it then went back with the applicator tip (not pressing) to spread it out and make sure I had all the edges covered.
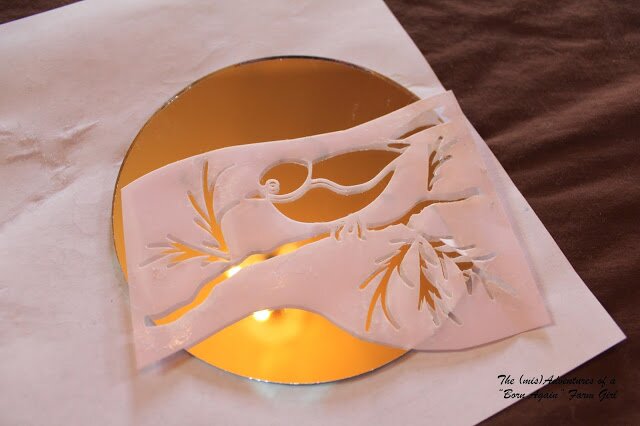
When you place your stencil on your glass, be sure you have it where you want it. You can take it back off and move it but it will leave behind sticky marks that can interfere with the cream later on. So take your time, deep breath, go slow. Once the stencil was on the mirror, I placed another sheet of printer paper over it and gently pressed to make sure all the little twig parts of my stencil where down. I let the stencil sit for 10 minutes, but you should read your stencil adhesive package as times may vary.
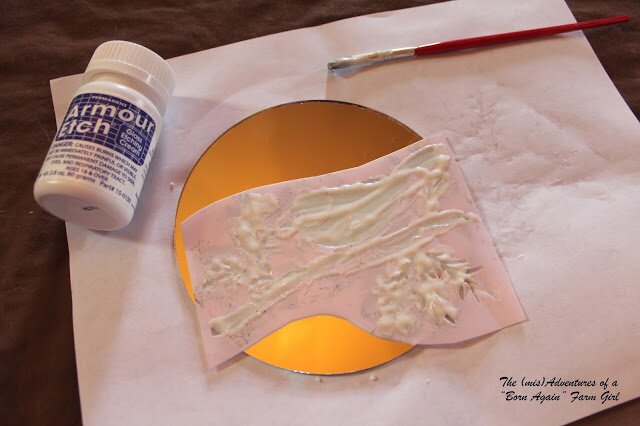
When the stencil is stuck, grab a paint brush you don’t mind ruining (aka not using for painting, only for glass etching.) I have found the best way to get good coverage is to blop (yes, that is a technical term LOL) the etching cream on the stencil and then smooth it out a little after it is entirely covered.
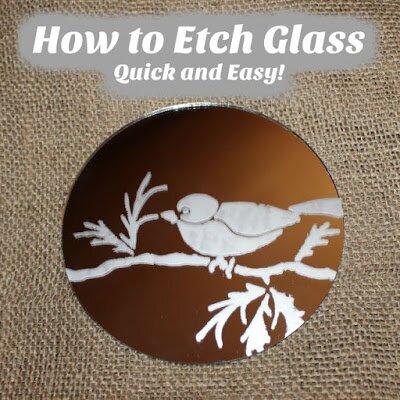
Depending on what brand of etching cream you use, and what you are etching on, will depend on the length of time the cream remains on the item. This simple bird took just three minutes! Once you have allowed the etching cream to work, you simply wash it off with water. It couldn’t get any easier!
Do be careful when using the etching cream as it has chemicals that can burn the skin and some folks might have a bad reaction. That being said, I did get some on me, and simply washed it off with water without any reaction. But if you are worried, pocket some latex gloves the next time your at the doctor’s office. *wink*
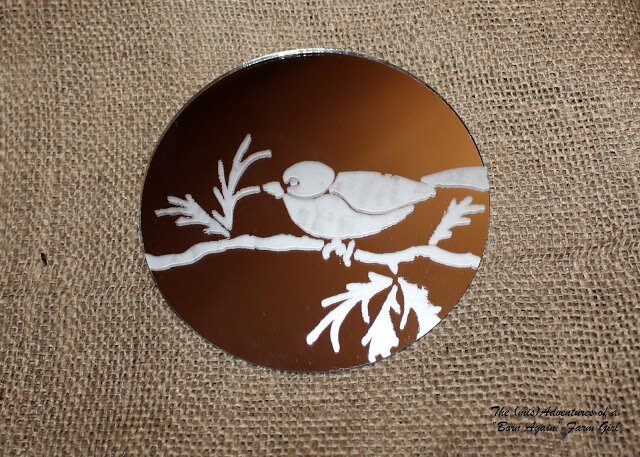
I don’t know what you think, but I love the way it turned out. I can see a couple spots where I could have done a better job on placing the stencil and cream, but for my first try, I think it came out awesome. And honestly, from a distance, you don’t see the small imperfections. And like I said, I am now addicted to etching glass, so I am sure I will improve.
And now that I have had my fun, I can’t wait to see what my son does with his project!
That's really nice! Yeah, I gotta say, JoAnn's is the way to go! I'm a regular at mine! Do show us what your son does for his project….don't make us wait until July!! Dona
Fair is actually in August, but he always waits till the end of July to try to do way too many projects. I'll keep you updated as soon as he is done!
Cool! No need to borrow or steal the gloves, though. Rubber gloves were cheap the last time I bought a pair at Walgreen's…that was years ago. (goes to search Amazon & Walmart.com)
LOL I was joking! Plus our dr always lets the boys have one if they ask. They like to blow them up and turn them into hand turkeys.
This is really beautiful. Thanks for sharing this craft with us at C&C with J&J.
Thank you. I love it, and it was so easy to make!
This looks like so much fun! 🙂
I would love for you to share this with my Facebook Group for recipes, crafts, tips, and tricks: https://www.facebook.com/groups/pluckyrecipescraftstips/
Thanks for joining Cooking and Crafting with J & J!
Thanks
So that is how you do it? Very interesting and so many fun possibilities! Thank you for sharing with us each week on the Art of Home-Making Mondays at Strangers & Pilgrims on Earth! 🙂
I've always wanted to try etching. Thanks for the how-to! Pinned to share. Appreciate you stopping by to share your posts with us this week for Brag About It!
It is so much easier then you would think!
I've seen so many etched glass projects. Now that I see how simple it is, I should do them! Thanks for sharing on the #WasteLessWednesday Blog Hop!
It is easy… and addictive!
Awesome job Mindy – thanks for joining us at Inspire Me Monday at Create With Joy!
Thanks for hosting 🙂
That turned out so cute and seemed easy enough.
Thanks for sharing at Wonderful Wednesday Blog Hop. Hope you come back next week so I can stop by again.
Bev
It really was amazingly simple to do.
Great tutorial! Thanks for sharing on the Pleasures of the NW's DIY party!
Thanks!
What a pretty craft, Mindie, and I love how easy it is. Thank you so much for sharing your Etched Glass project with us at Hearth and Soul. I'm featuring this post at the link party this week. Hope to 'see' you there!
Thank you so much for the feature! Of course I wouldn't miss the hop for anything!
It really is pretty! My MIL has used this technique to etch monograms into glass pans as gifts. I think it's so neat! Thanks for sharing on the Homestead Blog Hop!
I think I like your MIL LOL