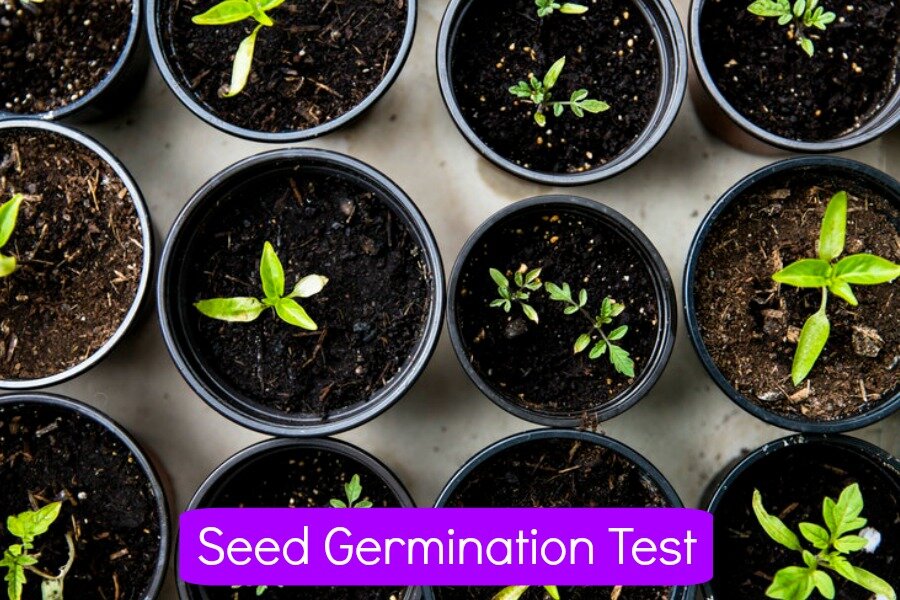
If you garden, you are most likely a seed hoarder as well. If your not, give it time…. You will end up with a stash of seeds! How do I know? Over the years, I have collected a box full of partially used seed packets because we like trying to grow new things. But how do you know if those seeds you have been saving are still any good? Simple, by doing a quick seed germination test!
How To Set Up A Seed Germination Test
Start by looking at the information on the seed packet to determine the germination requirements for your seeds. If you are testing a cool season crop, use a thermometer to find a suitable area in your home between 55-70 degrees during the day, like your basement or a North facing window sill that will be slightly cooler. Warm season crops should be kept between 80-85 degrees, like the top of your refrigerator. All temperatures are Fahrenheit.
Layer two paper towels and write the name of the seed and the date on the top towel using a pencil. Moisten, but don’t soak, the towels with clean water using a spray bottle. Too much moisture promotes bacterial and fungal growth, something you do not want.
Use at least five seeds when testing. Keep in mind that the more seeds you test, the more accurate your results will be. Line up the seeds on the damp towels in a row about 1” from the top edge of the paper towel. For small seeds leave a space of 1/2 inch between seeds. For larger seeds leave 1 inch. Make sure you leave enough space at both ends so the seeds don’t fall off the paper towel when you start rolling it up.
After your seeds have been placed in the paper towel, fold the towels in half from the bottom up over the seeds and then loosely roll the towels from one side to the other. Place the roll in a plastic bag, leaving the bag OPEN so that air can still circulate while keeping the moisture from the paper towels in.
Your seeds might have specific germination requirements, so read you seed packets! Some crops need to be pre-chilled in your refrigerator before planting. Other seeds might need direct sunlight, so you will not fold the paper towel before sliding your paper towel in a flat plastic bag.

During The Seed Germination Test
Check the towel moisture each day and add water when necessary. You can start checking the
seeds as early as 3 days after setup. Most seeds will germinate within 3-10 days. If you find moldy seeds, count them as dead and remove them or the mold may spread to other seedlings.
You can count and remove the healthy seedlings as they develop. Keep in mind, If you would like to transplant your seedlings after the test, many species can’t handle the change in environment at such an early stage and can suffer from shock. If you’re determined to save the seedlings, leave them attached to the paper towels and cut around their roots. Place the paper towel/root end in a starter pot and fill with soil.
The test is over when all the seeds have germinated or the normal number of days to germination is up.
Calculating The Seed Germination Test Results
To calculate germination rate, divide the number of healthy seedlings by the total number of seeds in the test and multiply by 100. For example, if you started with 15 seeds and had 12 healthy sprouts, your germination rate would be 80%. The lower the germination rate, the sooner the seed should be grown.
While seeds are always best to use the first two years, many seeds have a longer “shelf life” that might surprise you! Find out how long seeds really last. Now is also a great time to get some DIY raised garden beds made!

Happy Gardening!